Day 02, Step One: Defining a Grid, Defining Attractor Points
To start, we will set up two attractor points and a grid of points that will make the surface.
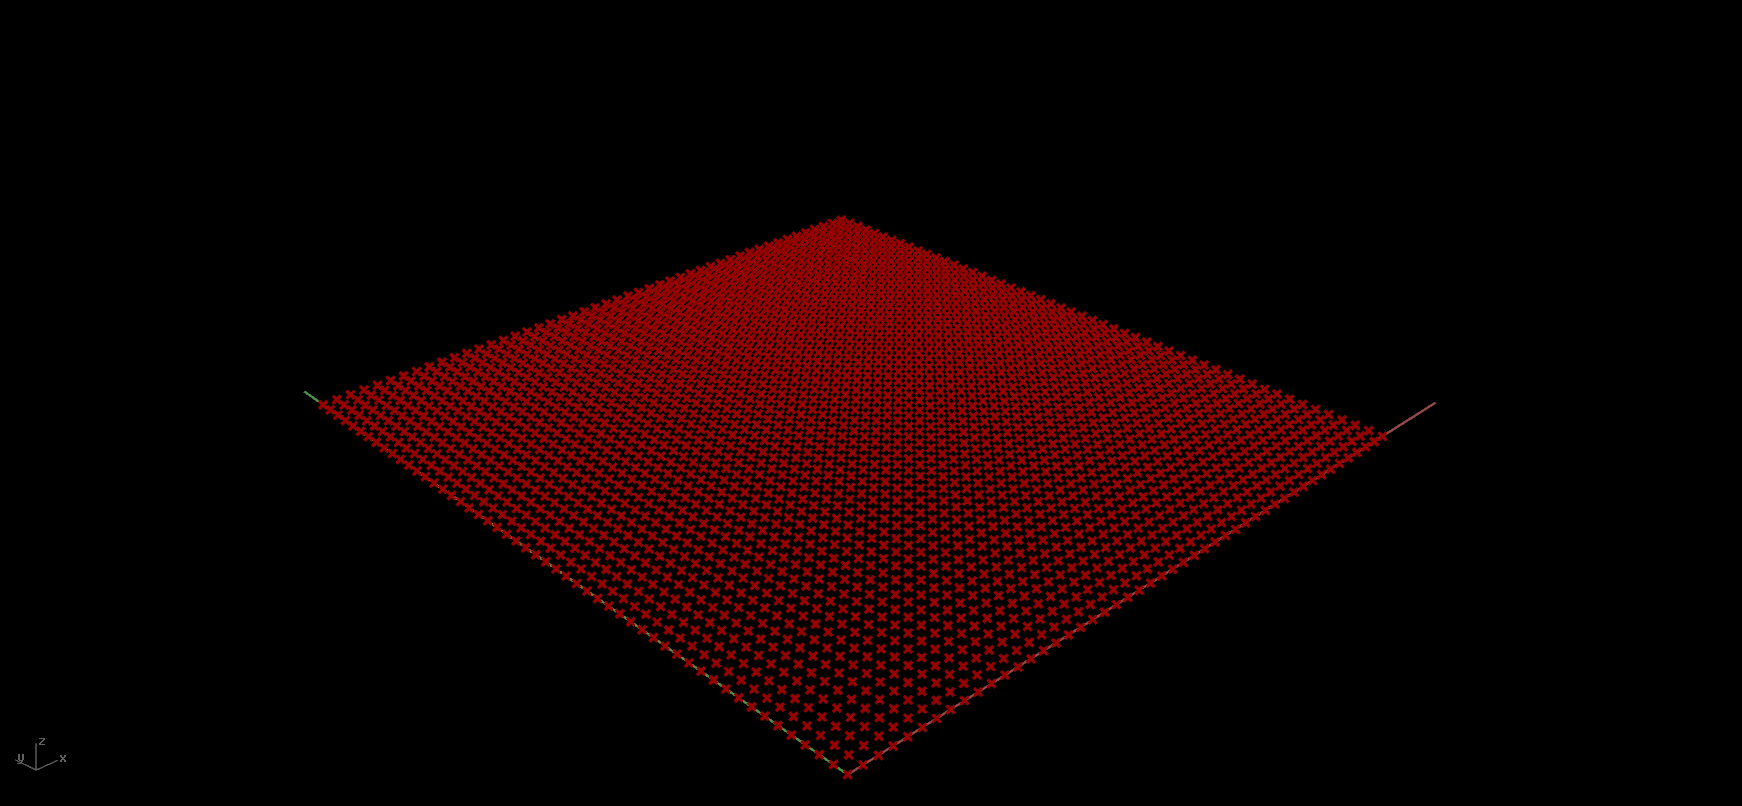
MAKING A GRID: The component labeled "Square" creates a grid with square cells (as opposed to rectangles, triangles, or hexagons which are also options in Grasshopper). In our inputs, we can determine the size of each cell (0.933), the number of rows in the X axis (Extent X) and the number of rows in the Y axis (Extent Y). In this example, we have created a number slider so that we can easily manipulate the grid extent. The output that we can use for this example are the points that occur on the crossings of the grid. The points appear in rhino as a red X (in default settings). See what happens to your grid when you slide the white dot on one of the number sliders.
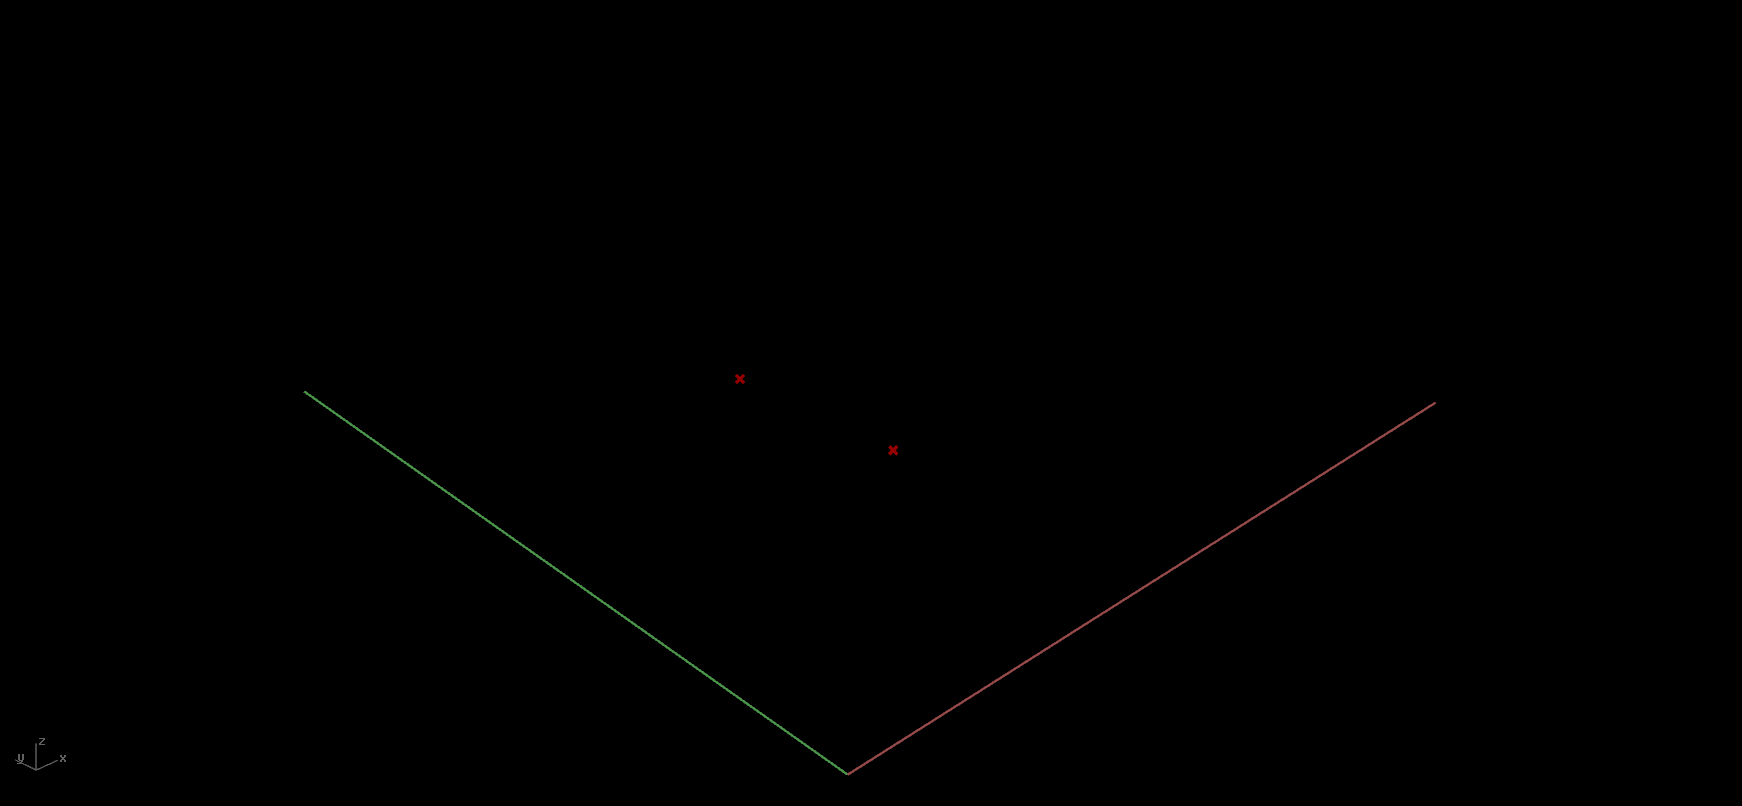
MAKING ATTRACTOR POINTS: There is certainly more than one way to construct a point. In this example, we are looking to easily manipulate the coordinates of our attractor points so that we can make many iterations of a surface using the same grasshopper definition. Simply plug an MD Slider into the point component. Notice that the MD Slider (Multi Dimensional Slider) has a grid with a white dot calling out the coordinate. See what happens when you move around the white dot in the MD sliders.
Grasshopper Screenshot: A Square Grid (top), and Attractor Points (bottom).
Output: A grid of points

Output: One example of two points created from the MD sliders

Output: Another example of two points created from the MD sliders
